























Beta System Installation Guide
Beta System Installation Guide
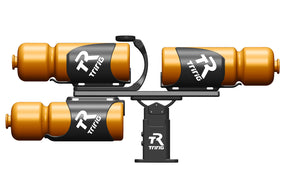
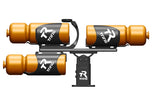
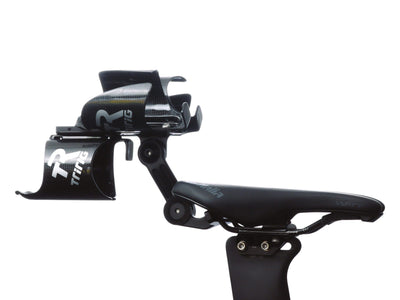
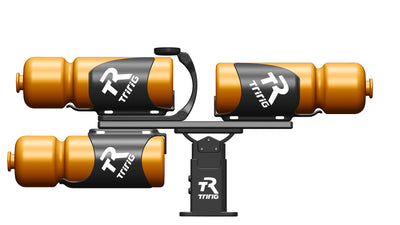
The Beta System is TriRig's rear hydration mount. It carries one, two or three bottles behind the saddle in virtually any position or angle. It comes in two versions:
- Saddle Clamp Mount: clamps to your saddle rails and fits virtually any saddle. This is our most popular option.
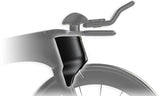
- Direct Mount: mounts anywhere you currently mount a bottle cage (for example, between your aerobar arms).


What's in the Box
Both versions:
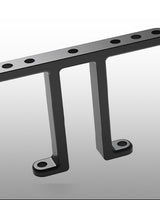
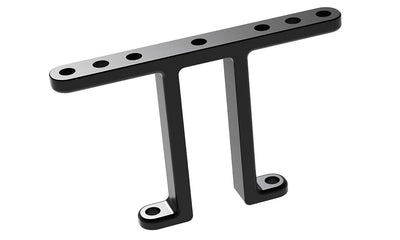
- Dogbone
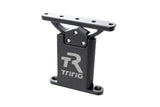
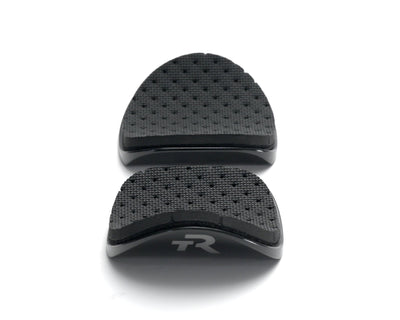
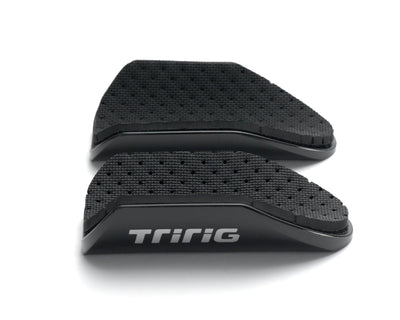
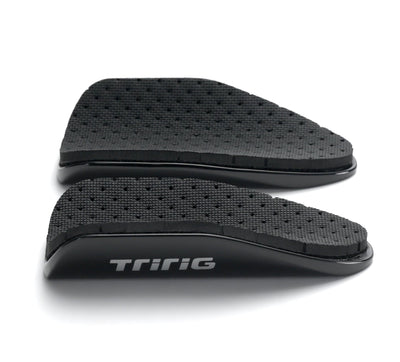
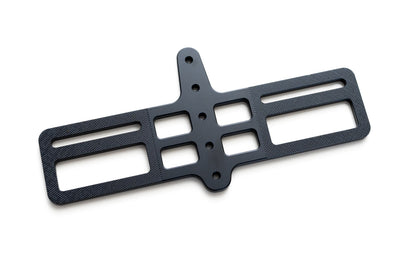
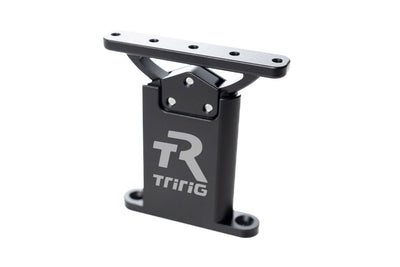
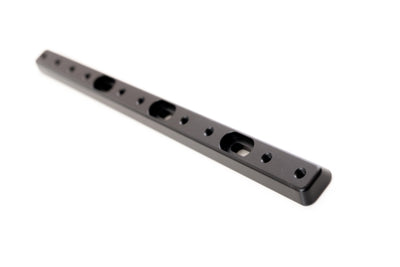
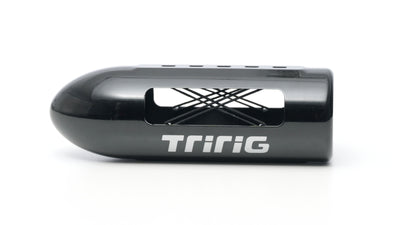
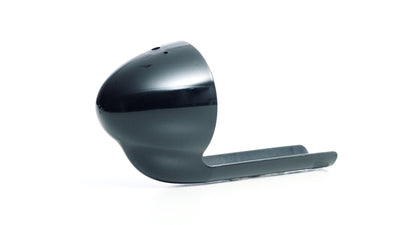
- Three Face Mount
- 2 × M6 countersunk screws (Dogbone and Three Face Mount)
- M5 bolts (for mounting bottle cages and other accessories)
Saddle Clamp Mount also includes:
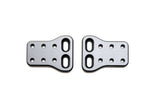
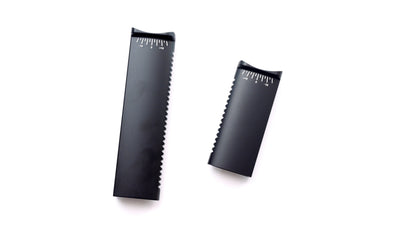
- Saddle Clamp Rosette (two pieces)
- 2 × M6 socket screws (to clamp the rosette onto your saddle rails)
Direct Mount also includes:
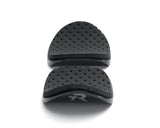
- Direct Mount Rosette
- M5 countersunk screws (for the slotted countersunk holes)
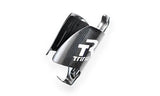
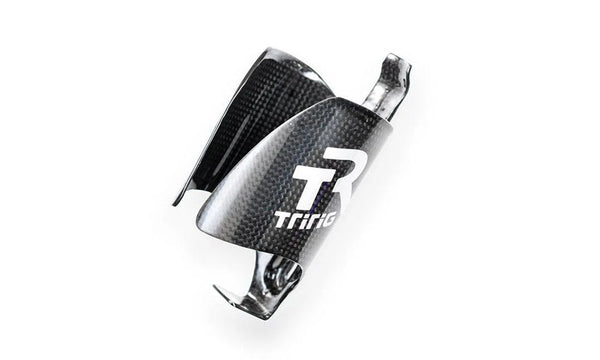
Bottle cages and bottles are sold separately (Kappa Carbon Cage and Kappa Carbon Saddle Cage).
All Beta System screws come with Loctite pre-applied.

Tools Needed
- Hex keys
- Torque wrench
Pre Step — Before You Start
We always recommend snapping a picture of or marking your current saddle position before installation so you don't lose your exact position.
Step 1 — Attach the Saddle Clamp Rosette
-
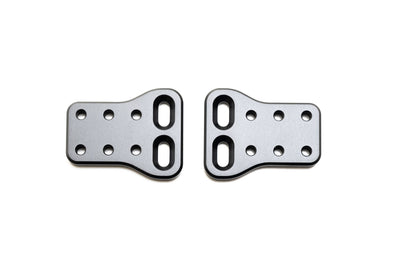
The Saddle Clamp Rosette comes in two pieces. One piece has the double-sided rosette.

-
Place one piece behind the saddle on the rails. Then put the other half on from the opposite side of the rails.
-
The clamp is flippable. You can mount it with the rosette facing up or down, whichever suits your setup. Most riders will mount it with the rosette facing up.

-
Thread in the two M6 socket screws. They have Loctite pre-applied, so you will feel a little resistance as you thread them in. That's normal.
-
Tighten evenly to about 5 Nm. If your saddle manufacturer gives a torque spec for the rails, use that instead. This matters most with carbon rails.


⚠️ Always check your saddle manufacturer's rail torque spec. Use a torque wrench.
Alternate Step 1 — Direct Mount Rosette
-
The Direct Mount Rosette has slotted countersunk holes for mounting, plus M5 threaded holes for a Polymount computer mount or other accessories.

-
Mount the rosette anywhere with bottle cage bolt spacing, using the included M5 countersunk screws through the slotted holes. Tighten to about 4 Nm.
-
Continue to Step 2. The Dogbone (or the Three Face Mount, if you skip the Dogbone) attaches to the Direct Mount Rosette the same way it attaches to the Saddle Clamp Rosette.

Step 2 — Attach the Dogbone (optional)
⚠️ The Dogbone is completely optional. Some riders find the Three Face Mount is best positioned mounted directly to the Saddle Clamp Rosette or the Direct Mount Rosette. If you skip the Dogbone, go to Step 3 and mount the Three Face Mount straight to the rosette.
-
The rosette is double-sided. You can mount the Dogbone on either face of the rosette, pointing forward or back.


-
Align the teeth of the Dogbone with the teeth on the rosette and insert one M6 countersunk screw.
-
Tighten to 5–7 Nm.

Step 3 — Attach the Three Face Mount
- Align the teeth of the Three Face Mount with the teeth on the Dogbone or directly with the teeth on the Saddle Clamp / Direct Mount rosette (if you skipped the Dogbone). Insert one M6 countersunk screw.
-
Tighten to 5–7 Nm (same M6 countersunk screw and torque either way).


Step 4 — Choose Your Configuration
To change an angle, loosen the M6 countersunk screw(s) at each joint, reposition the parts, then retighten each to 5–7 Nm.
- Angled up: bottles sit just above the saddle (see above).
-
Horizontal: horizontal bottles sit right behind you.

-
Tucked/flipped down: flip the Saddle Clamp Rosette so it faces down. This brings the whole assembly down behind the saddle, more in line with your seat post. To do this, remove the rail clamp, flip it and reinstall it (Step 1, 5 Nm or your saddle's spec).

Step 5 — Attach Cages
- The Three Face Mount has M5 threaded holes on each outer face, plus a flat inside face for an inward-facing bottle or storage.
-
On the top, use a regular Kappa Carbon Cage. Attach it with the included M5 bolts.

-
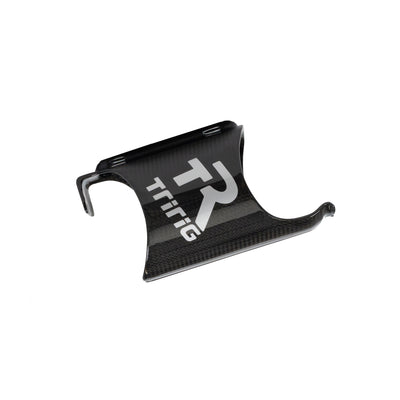
On the underside, use a Kappa Carbon Saddle Cage. Its retention tabs are inverted, so you don't have to lift the bottle over them. Attach it with the included M5 bolts.

Step 6 — Attach your Bottles!
Popular layouts:
- Two Kappa Carbon Cages side by side on top (most common)
- Two Kappa Carbon Cages on top plus one Kappa Carbon Saddle Cage on the bottom (three bottles)
- One Kappa Carbon Cage on top plus one Kappa Carbon Saddle Cage on the bottom (stacked)
Contact Us
Questions? Email info@tririg.com with your bike and saddle.