


Beta One Installation Guide
Pre Step — Verify Compatibility
Confirm your seat post set up:
-
10 mm Ritchey thru-rails present → Carrier can mount directly
-
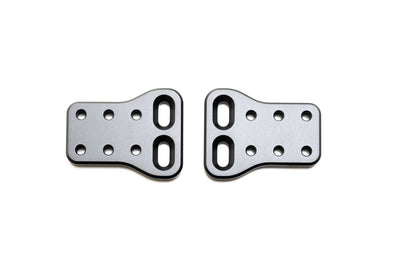
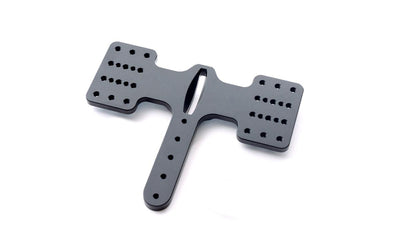
Standard saddle rails → Beta Saddle Bracket required
⚠️ Bikes without 10 mm thru-rails cannot mount the carrier directly.
Step 1 — Attach the Carrier
If your bike has 10 mm thru-rails 👇:
We always recommend snapping a picture of or marking your current saddle position before installation so as not to lose your exact position.
-
Remove the Ritchey saddle clamp from seatpost using the two top-down bolts. If your saddle does not have a slot through it, you may need to first remove the saddle to access these bolts.
-
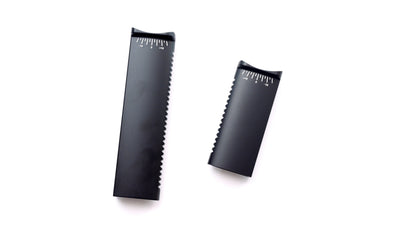
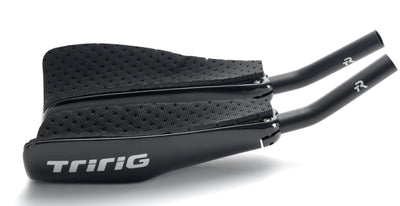
Remove the saddle topper rail (usually a dumb-bell shaped piece from the 10mm rail slot.
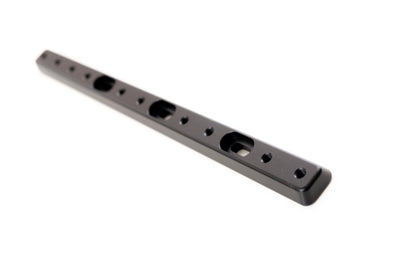
- Slide the Beta rod into the seatpost, positioning the vertical holes directly under where the saddle topper needs to be positioned.
- Replace the bolts through the saddle topper into the Beta rail. Ensure there is enough space to attach the Beta Carrier to the rear portion of the rail.
-
Tighten evenly (final torque applied after alignment). Replace saddle if necessary.
If using the Beta Saddle Bracket 👇:
-
Install the Beta Saddle Bracket first (see Beta Saddle Bracket installation guide).
-
Attach the rod to the bracket using two M5 button head screws.
-
Tighten evenly (final torque applied after alignment).
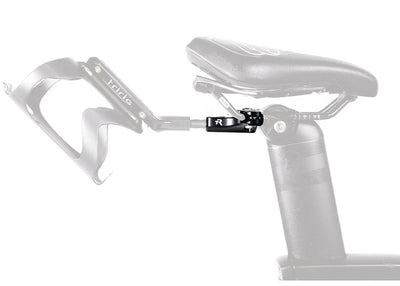
Adjustment:
- Set the desired fore/aft position by sliding the rod to desired length.

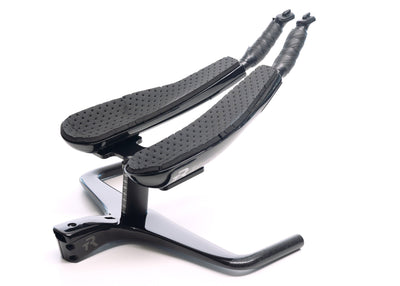
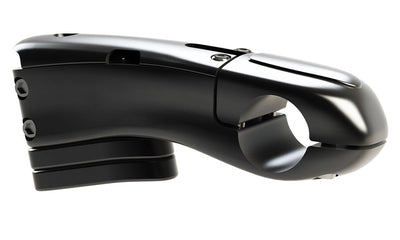
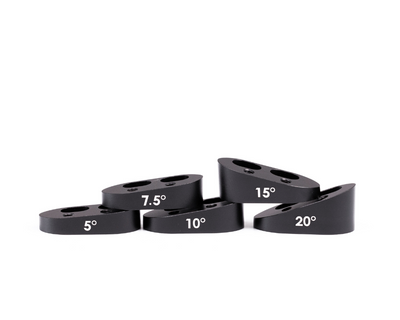
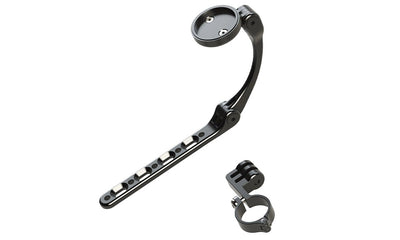
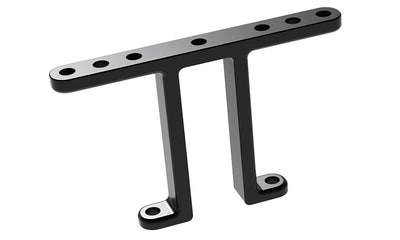
Step 2 — Attach the Mounting Rosette
-
Attach the mounting rosette to the flared end of the titanium rod using two M5 button head screws.
-
Adjust orientation as needed:
-
Fore/aft adjustable
-
Can be flipped upside down
-
Can face drive side or non-drive side (under-slung configuration)
-
-
Once aligned, torque both M5 screws to 3–4 Nm.

Step 3 — Attach the Wishbone to the Rosette
-
Align the teeth of the Wishbone Attachment with the teeth on the mounting rosette.
-
Insert the M6 through-bolt.
-
Tighten to 5–6 Nm.

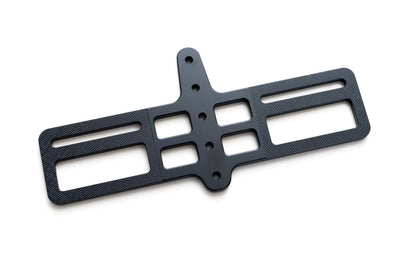
Step 4 — Attach the Mounting Bracket to the Wishbone
-
Align the teeth of the Wishbone Attachment with the teeth on the mounting bracket.
-
Insert the second, M6 through-bolt.
-
Tighten to 5–6 Nm.

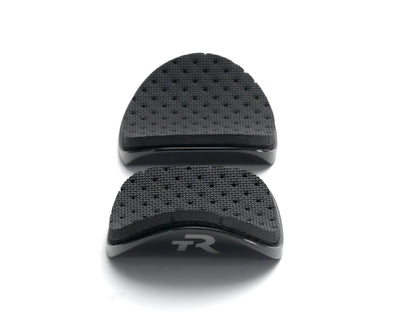
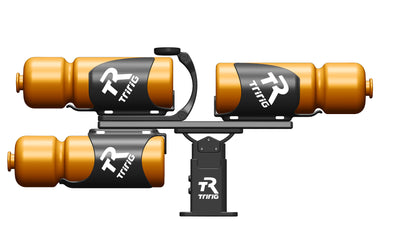
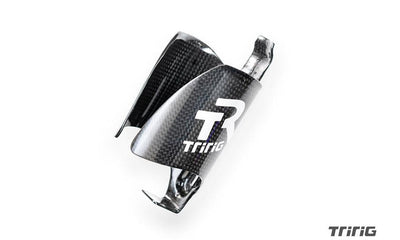
Step 4 — Attach your Bottles!
-
Using the slotted holes of the Kappa and Kappa Saddle Cages, install the bottle cages.
- This set up shows one Kappa Cage and one Kappa Saddle Cage. Though there are 26 different boss options for a variety of different bottle configurations.

OPTIONAL:
- You do not need to use the Wishbone Attachment and instead mount the main mounting bracket (indicated in blue) to the rosette (indicated in red).
