


Scoops Installation Guide
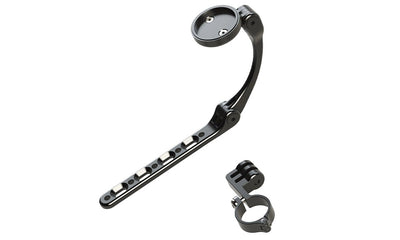
❗Important: The following installation process is for TriRig arm cups / scoops, not particular to any bike brand/ model. If you are using the Trek SC Monopost (Rim Brake), please see that specific installation guide.
Pre-Step: The installation requires countersunk bolts only.
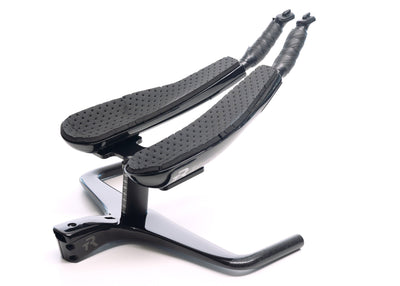
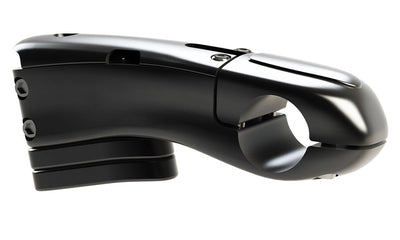
Step 1 - Remove old arm cups from aero bar.
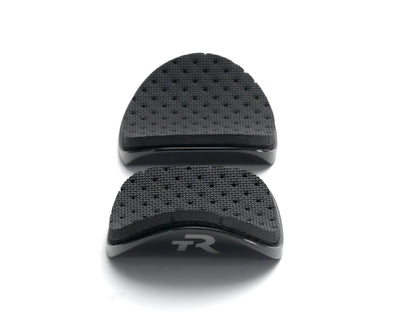
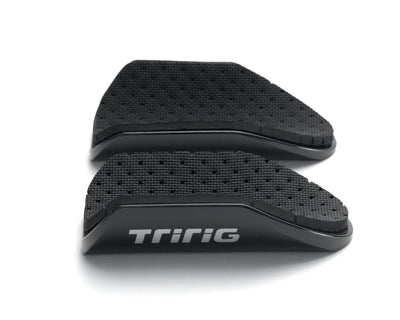
Step 2 - Remove padding from TriRig Scoops by peeling back the velcro attached neoprene pad.
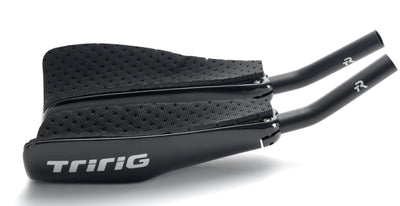
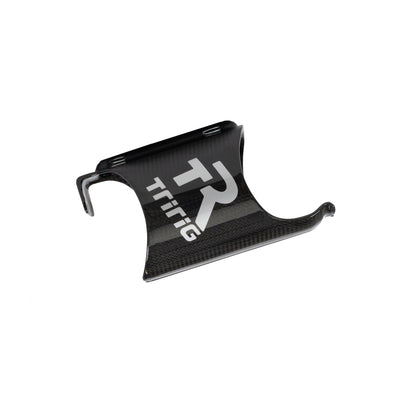
Step 3 - Line up mounting holes on TriRig Scoops with mounting holes are your aero bar’s arm cup mounting bracket in desired location making sure you have the left and right Scoop on the correct side of your aero bar. Logos on the Scoops are intended to be facing outside of your arms.
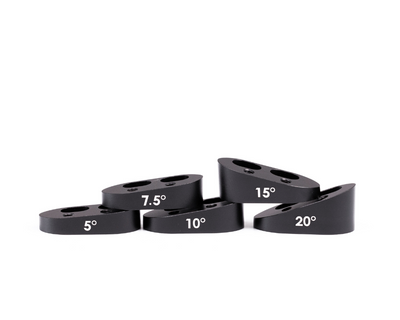
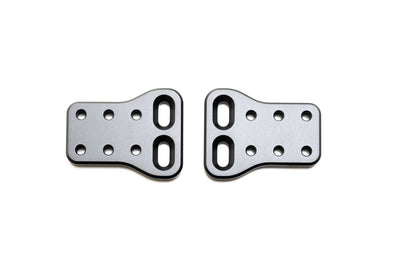
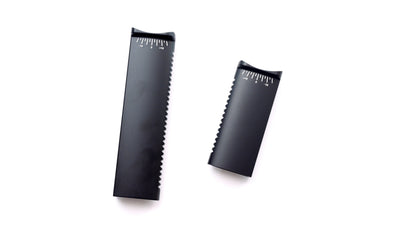
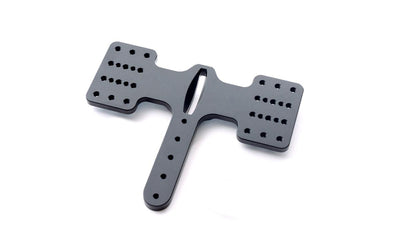
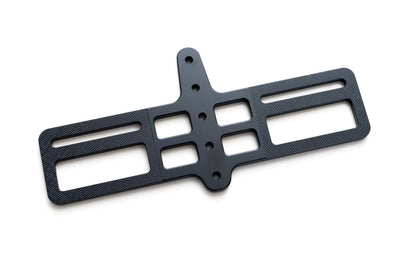
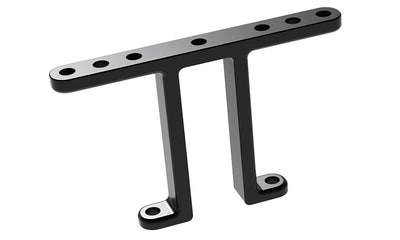
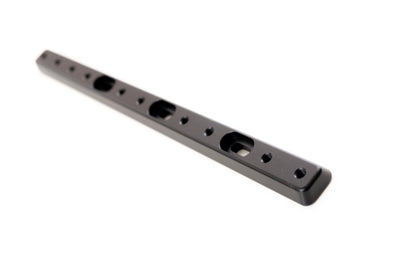
- Sometimes, however, the bolt patterns do not line up exactly where you need them to be for the fit you are looking for. In this case we recommend our Wingspan adapter plates.
Step 4 - Using the supplied hardware mount the Scoops to your aero bar. Only 2 bolts are needed for each arm cup, installed in the fore/aft position.
- We send different lengths of M5 and M6 countersunk bolts. Find out which size your aerobar accepts and use the corresponding bolts from the hardware we sent with the Scoops.
Step 5 - Tighten bolts to 6nm. We recommend using a high quality torque wrench such as Wiha precision tips (squared-off ends) or BP Swiss tools.
- Tighten bolts gradually in a cross-pattern to evenly distribute pressure on the carbon.
Step 6 - Reapply velcro neoprene pad making sure the left pad goes with the left Scoop and the right pad goes with the right Scoop.
➡️ For more Scoops install tips, see our youtube video "TriRig Scoops Best Practices".