


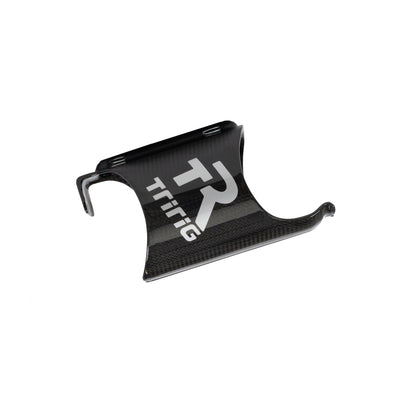
Trek SC Super-X Plate Installation Guide
⚠️ This plate is designed specifically to work on the Trek Speed Concept Twin Post (disc brake) TT bike.
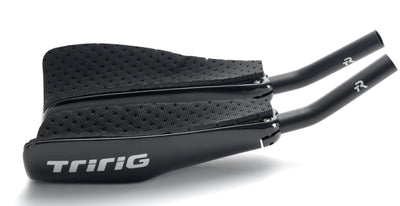
1. Prepare the Basebar
-
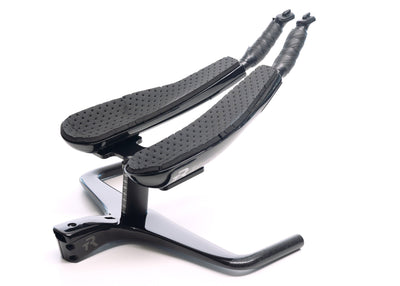
Start with a naked Trek Speed Concept basebar with only the risers installed.
-
Remove all other hardware (arm cups, plates, brackets, etc.).
-
Verify that the risers are properly seated but do not remove them.

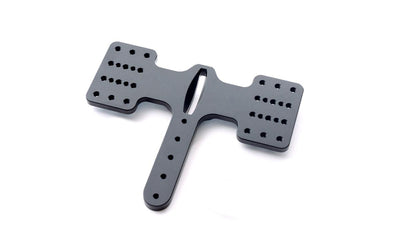
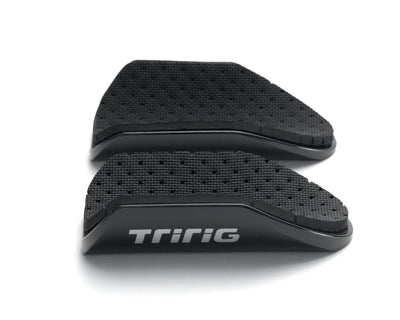
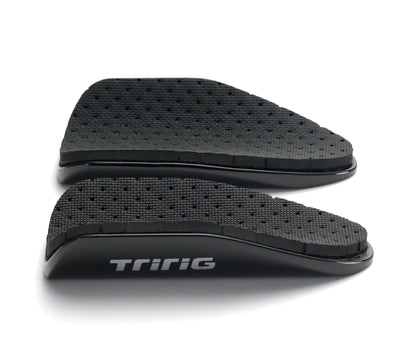
2. Position the Super-X Plate
-
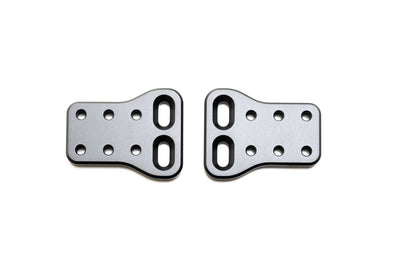
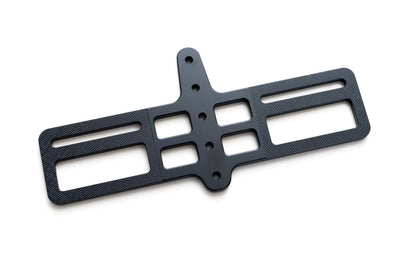
The Super-X plate installs directly on top of the risers.
-
Gently bring the plate into position over the risers.
-
The plate features locating holes designed to help align it with the risers.
- (The plate also has cable ports to help guide electronic wiring).

3. Align the Plate
-
Align one side of the plate first, engaging the locating holes with the riser.
-
Once the first side is seated, align the opposite side.
-
Do not force the plate into position, it should click into place.
If alignment is difficult:
-
Slightly loosen the riser bolt from the underside of the bar.
-
This will allow enough movement for the plate to snap cleanly into place.
-
Repeat as needed on the opposite side.

(Gentling wigging the plate into place).
4. Install Countersunk Bolts
-
Once both sides of the plate are properly aligned and seated:
-
Install the 4 countersunk bolts through the Super-X plate.
-
-
Thread all bolts in by hand before tightening.

5. Final Tightening
-
Tighten the countersunk bolts evenly, alternating between bolts to seat the plate flat.
-
Re-tighten all riser bolts from the underside of the bar to ensure the risers are fully secured.
Final Checks
-
Confirm the plate is fully seated on both risers.
-
Verify all countersunk bolts are tight.
-
Confirm all riser bolts are tightened and secure.
-
Ensure there is no play or misalignment in the assembly.

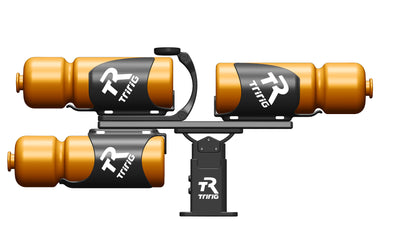
OPTIONAL:
- Can use the Alpha Prime extension clamps bolted underneath the plate.