


Omega - Aero Data
Omega One Wind Tunnel Report

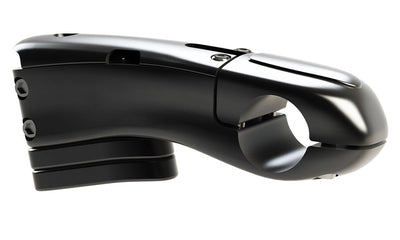
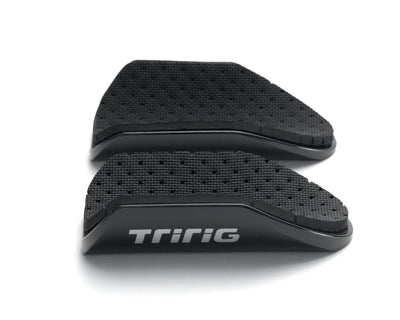
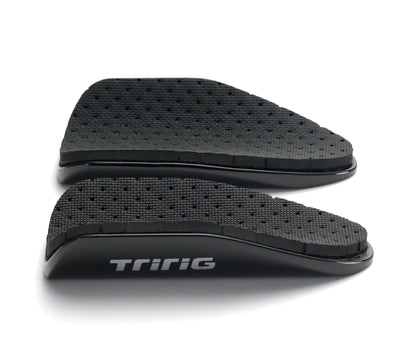
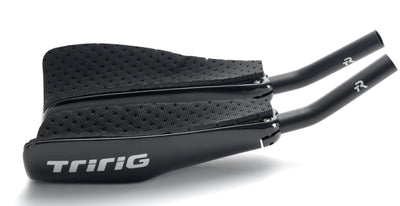
Omega One was wind-tunnel tested in the world-renowned San Diego Low-Speed Wind Tunnel. We have used that tunnel to test many of our parts, including Alpha One aerobars, and the Omni bike. We typically use tunnel testing as validation, to confirm the CFD modeling that we do during the design process. Our tests validated that not only is Omega One the fastest brake we have ever tested, but it's even faster than having no brake on the bike at all! You can improve Omega One's aero performance even further by adding the Delta front cover, but even without Delta, Omega One is the fastest brake ever made. Get yours now!
Executive Summary

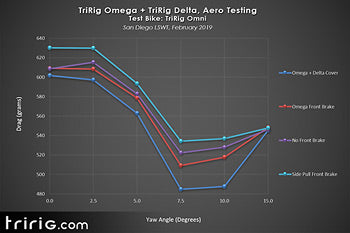
Omega One + Omni

Full Test Results

Weighted-Average Drag

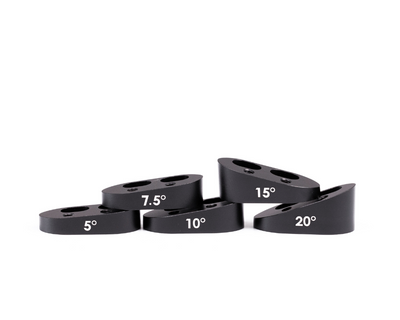
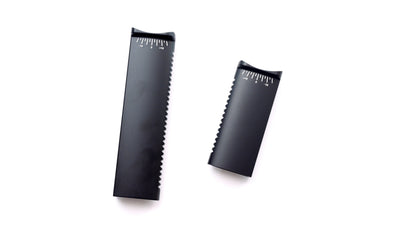
Weight Set
We tested Omega One both on the Omni bicycle, as well as our baseline Cervelo P3 test rig, to provide a picture of how it would perform both on our radical frame and on a traditional double-diamond frame. Interestingly, the results were extremely consistent. Omega One made both bikes faster, to almost the same extent. Above, we're showing the results on Omni, but they are substantially similar when we tested on the Cervelo P3. In analyzing the data, we compute weighted-average drag figures designed to simulate real-world wind conditions. The weight sets and the raw data are all available for readers to interpret themselves. In short, Omega One makes your bike faster than having no brake at all, and can be made even faster when you add the Delta cover.
Test Rigs + Protocol

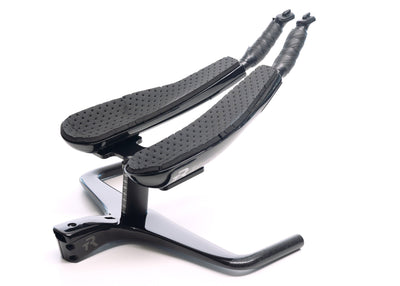
TriRig Omni test rig

Cervelo P3 test rig

TriRig Omni test rig

Cervelo P3 test rig
We try to keep things very simple and straightforward when testing aero equipment. Ideally, only one thing is changed between two consecutive runs in the tunnel, in order to isolate the effects of that one change. For these bike-only tests, we ran the wheels and wind at 30mph, and sampled data for 15 seconds at each of 0, 2.5, 5, 7.5, 10, and 15 degrees of yaw. We tested Omega One both on our own Omni bicycle and also on the Cervelo P3 test rig we have used in the past, to see if we would see different results on traditional frames compared to our more radical one. In the end, it appears that Omega One has very similar performance regardless of which bicycle it is used on, saving significant drag for both. Both rigs were set up with identical wheels, saddles, drivetrains, cockpits, and positions.
Interpreting the Data
In most cases, the potential benefits of any change on a bicycle must be weighed against its potential drawbacks. In the case of Omega One, we are presented with the rare example of an unalloyed good. Omega One reduces drag across the entire yaw sweep, is significantly cleaner than any other brake on the market, and doesn't have any real drawbacks. When adding the Delta cover, the drag savings are compounded. The combination of Omega and Delta saves almost 4 watts compared to using a traditional brake! That can translate to almost 0.5 seconds per kilometer of racing, or 90 seconds over an Ironman bike leg. The data here also corroborates what we learned in our previous studies, that Omni is a faster bike than its best-in-class double-diamond cousin, even when that double-diamond bike is set up with the fastest bars and brakes on the market. But these tests demonstrate that Omega One and Delta can help narrow that gap, bringing double-diamond performance even closer to that of the Omni. As always, the reader is encouraged to interpret the data for themselves and come to their own conclusions.
Data + Images
Omni + Delta Tests

Omni + Delta Weighted-Average Drag

P3 + Delta Tests

P3 + Delta Weighted-Average Drag

Weight Set

Beta control at the LSWT

Knobs at the LSWT

Cervelo P3 Test Rig

Cervelo P3 Test Rig

Cervelo P3 Test Rig

Cervelo P3 Test Rig

Cervelo P3 Test Rig
 pTriRig Omni Test Rig
TriRig Omni Test Rig

TriRig Omni Test Rig

TriRig Omni Test Rig

TriRig Omni Test Rig

TriRig Omni Test Rig

TriRig Omni Test Rig

TriRig Omni Test Rig